
The complete guide
Soft Cool Bag Buyer's Guide - How to Pick, Pack and Look After One
The problem with most cool bags
You pack the bag at 8am. By one o'clock the ice is water, the sandwiches are warm, and there is a puddle under the bag in the boot. Nearly everyone has had this happen, and it is rarely because the bag was cheap. It is usually because of two design shortcuts that are very common in soft coolers.
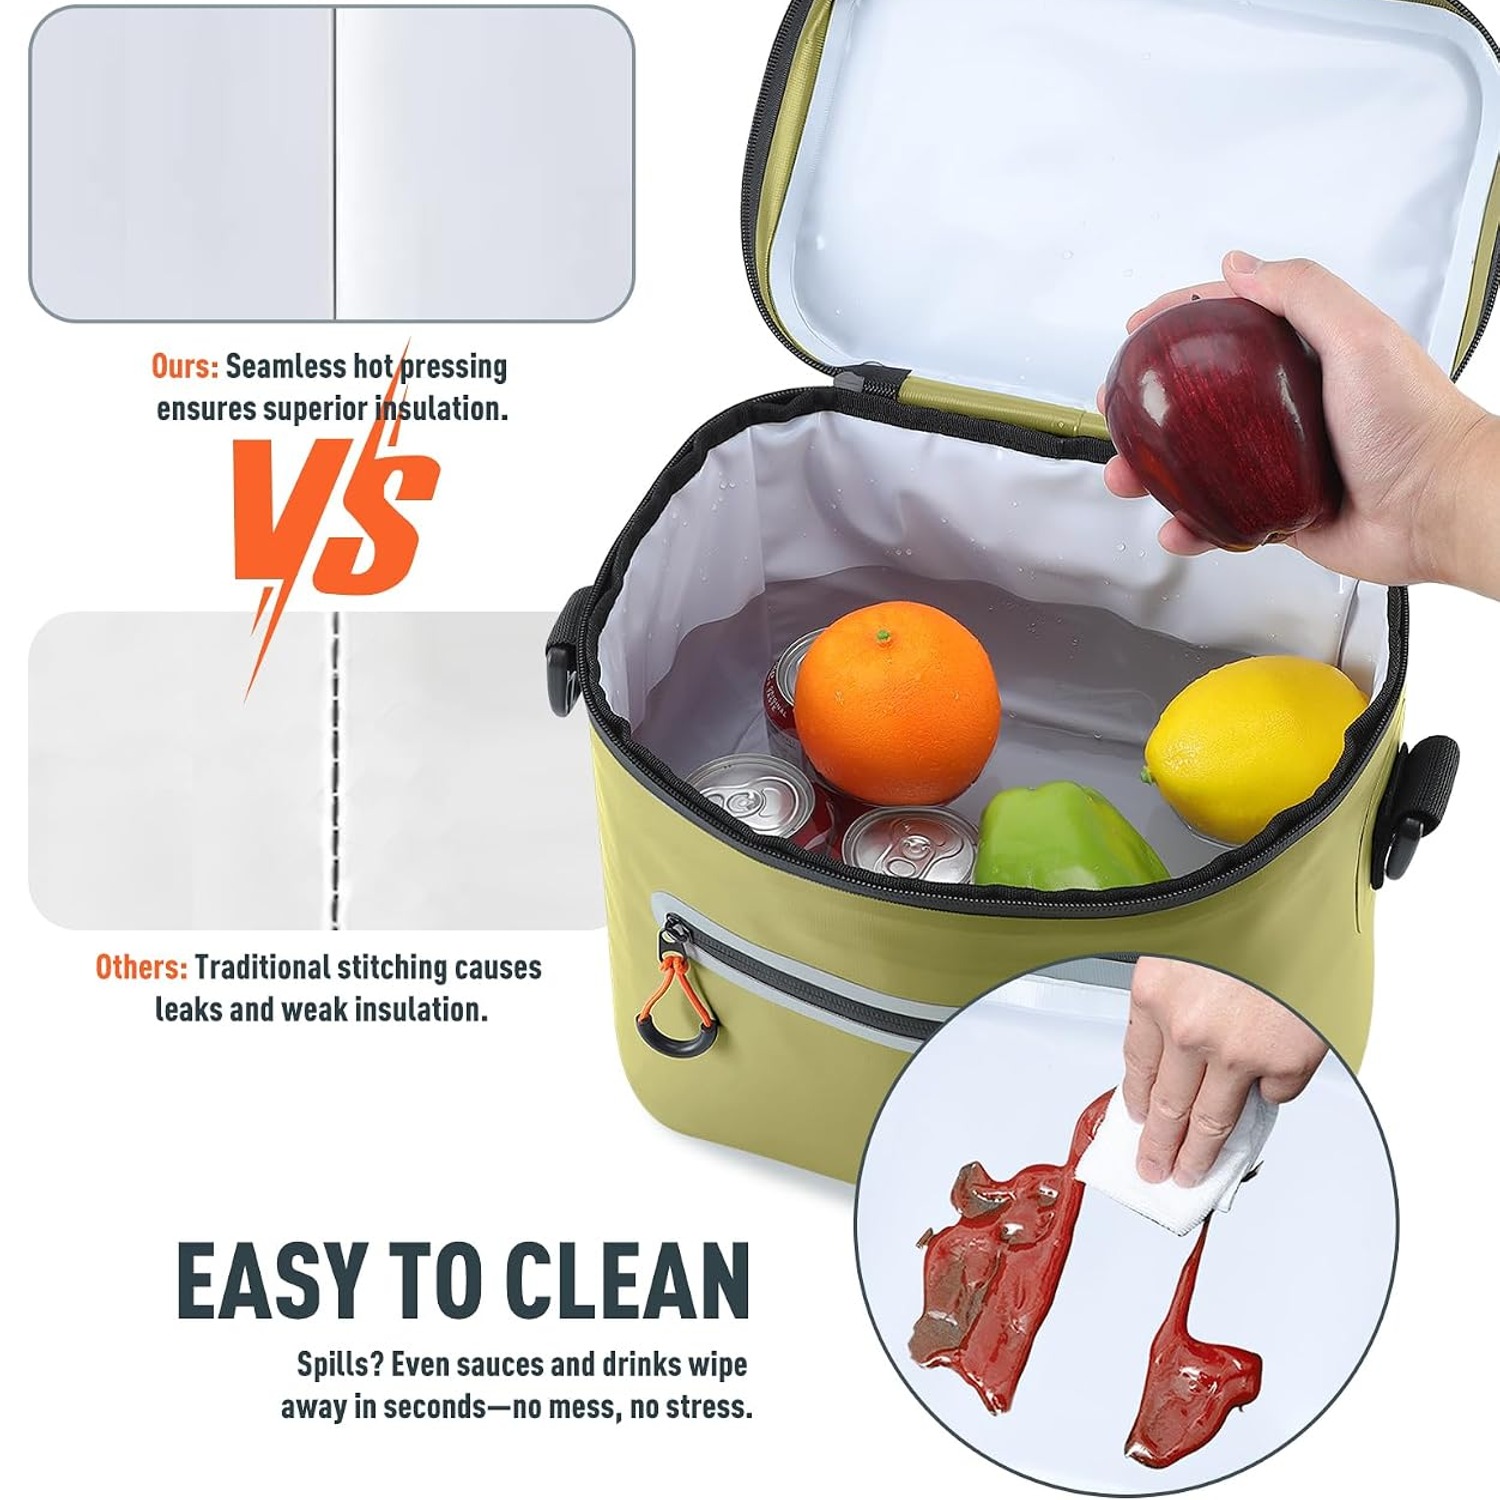
The first is pockets. Side pockets look handy on a product photo, but each one interrupts the insulation wall. Cold leaks out through every seam and flat panel where the foam is thinner. The second is the liner. A lot of bags use a thin lining with stitched corners, and stitched corners leak. Once melted water starts moving through the seam, the insulation itself gets wet, and wet insulation stops insulating.
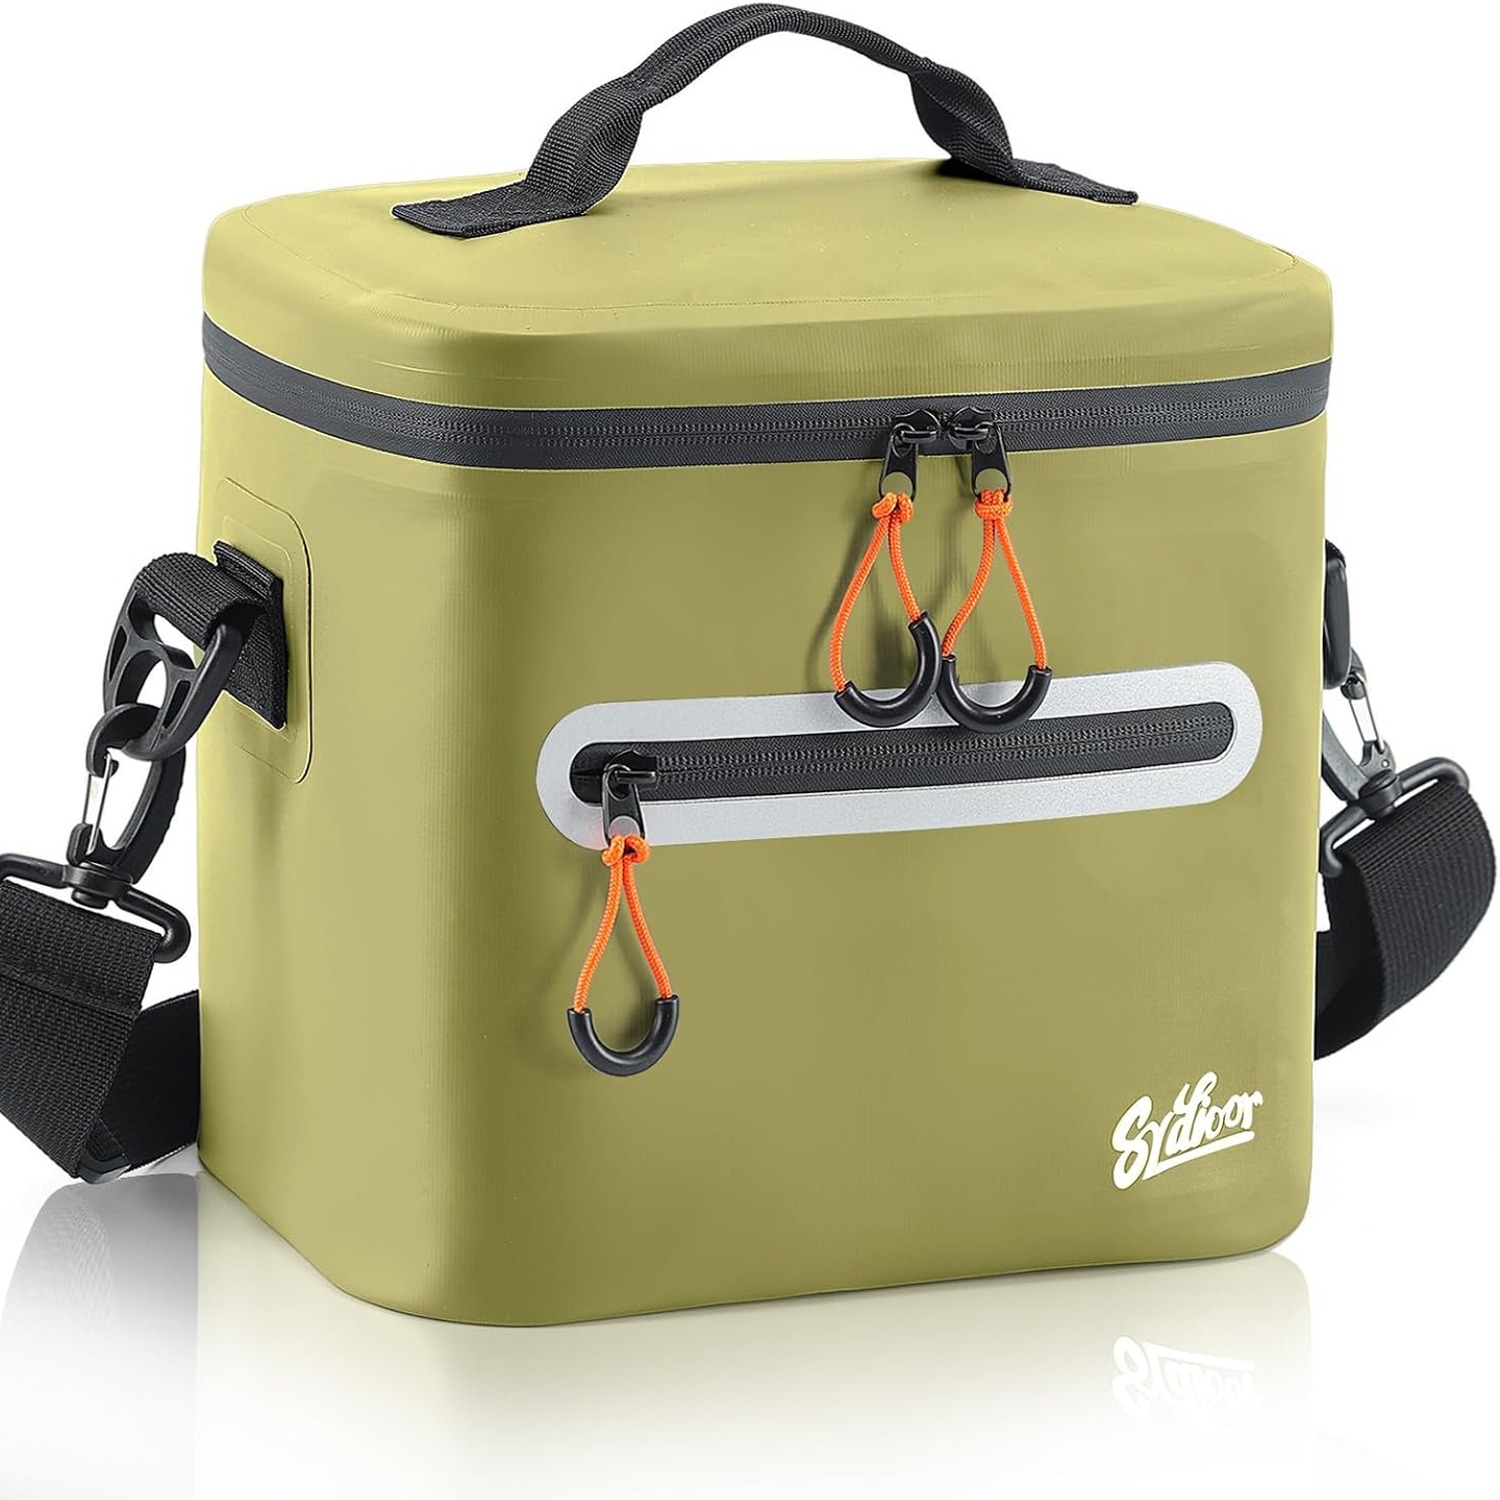
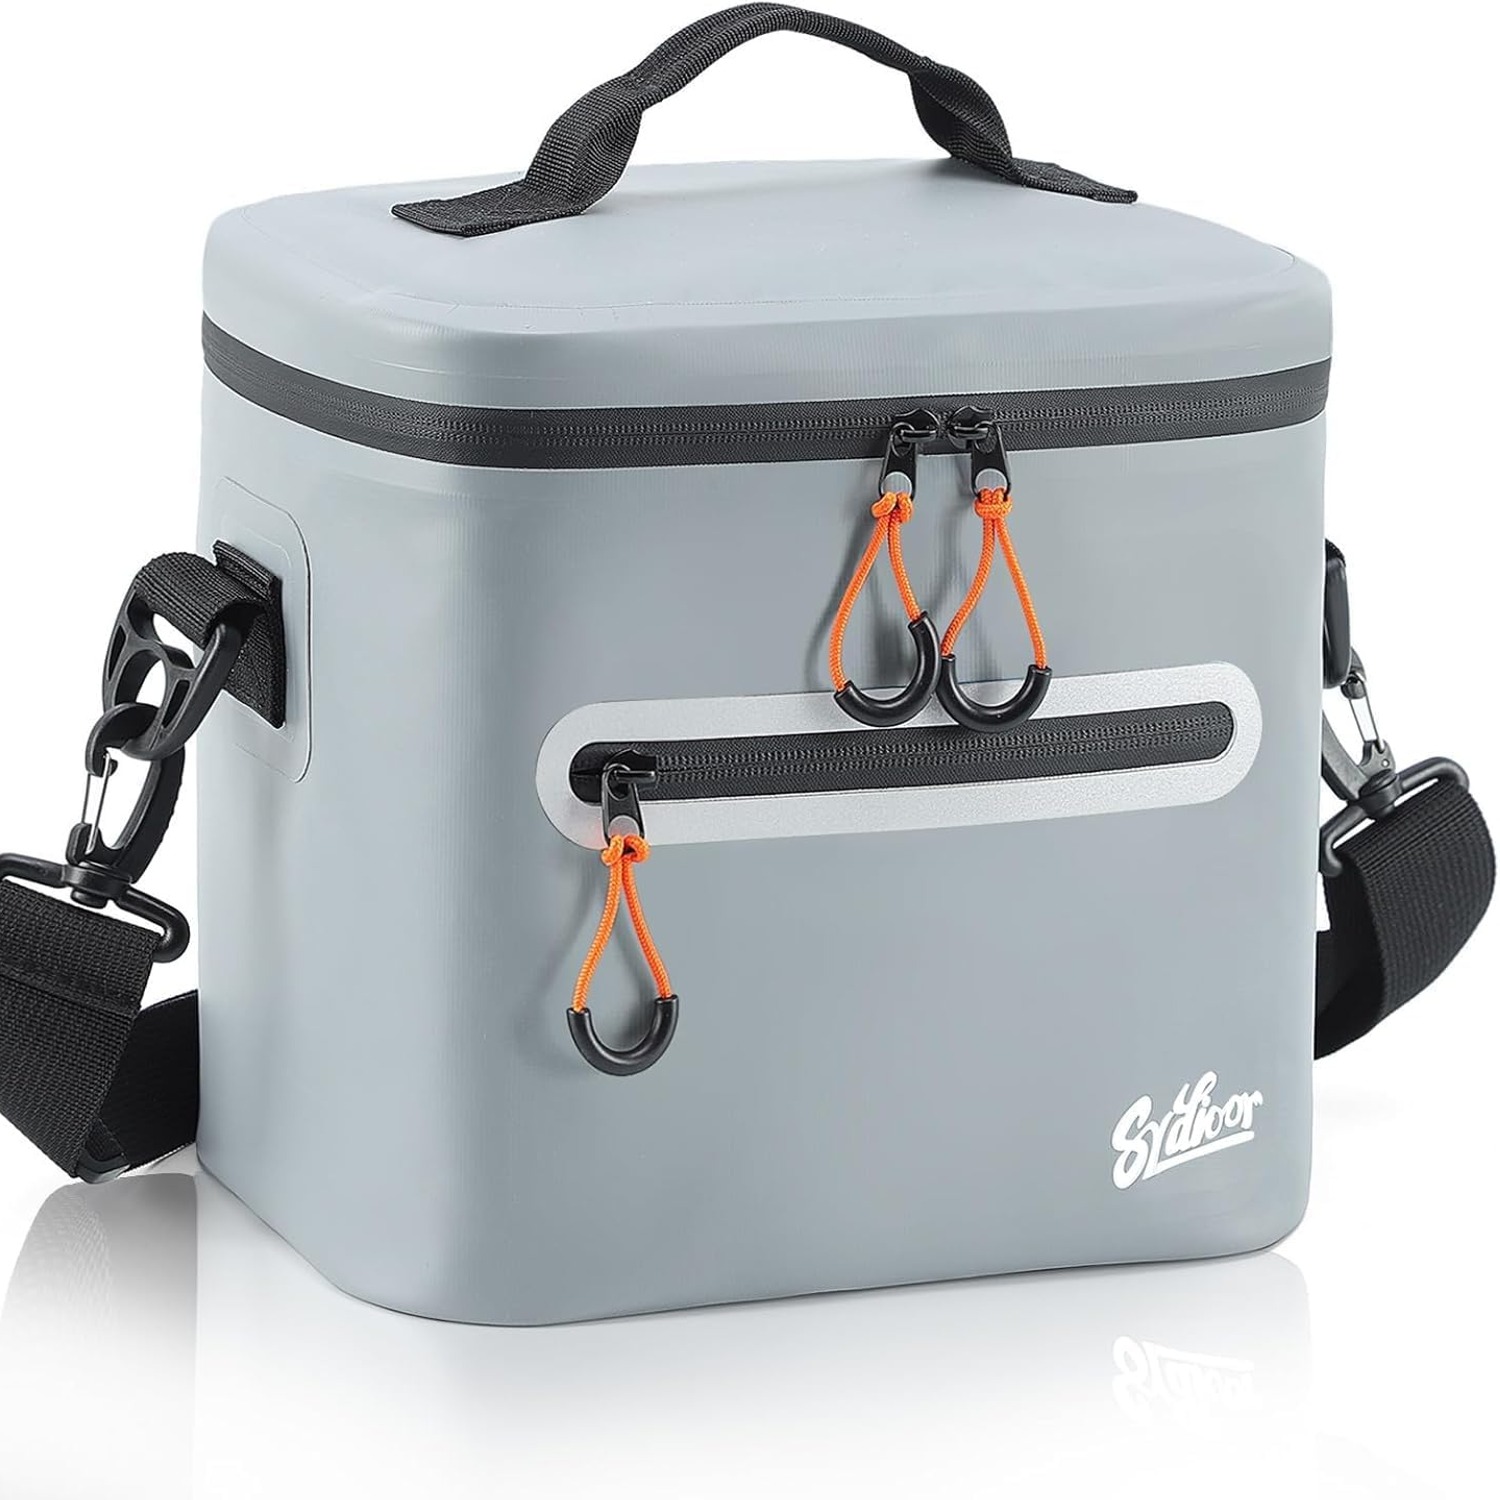
This Sydioor bag is built the other way around. The body is one piece with five layers of insulation and no side pockets cutting into them. The liner is food-grade PEVA, sealed to be leak-proof. It is a plain approach, and plain is what works here.
How insulation actually works
Insulation does not create cold. It slows the movement of heat. Your ice is the cold source, and the job of the bag is simply to make that ice last as long as possible.
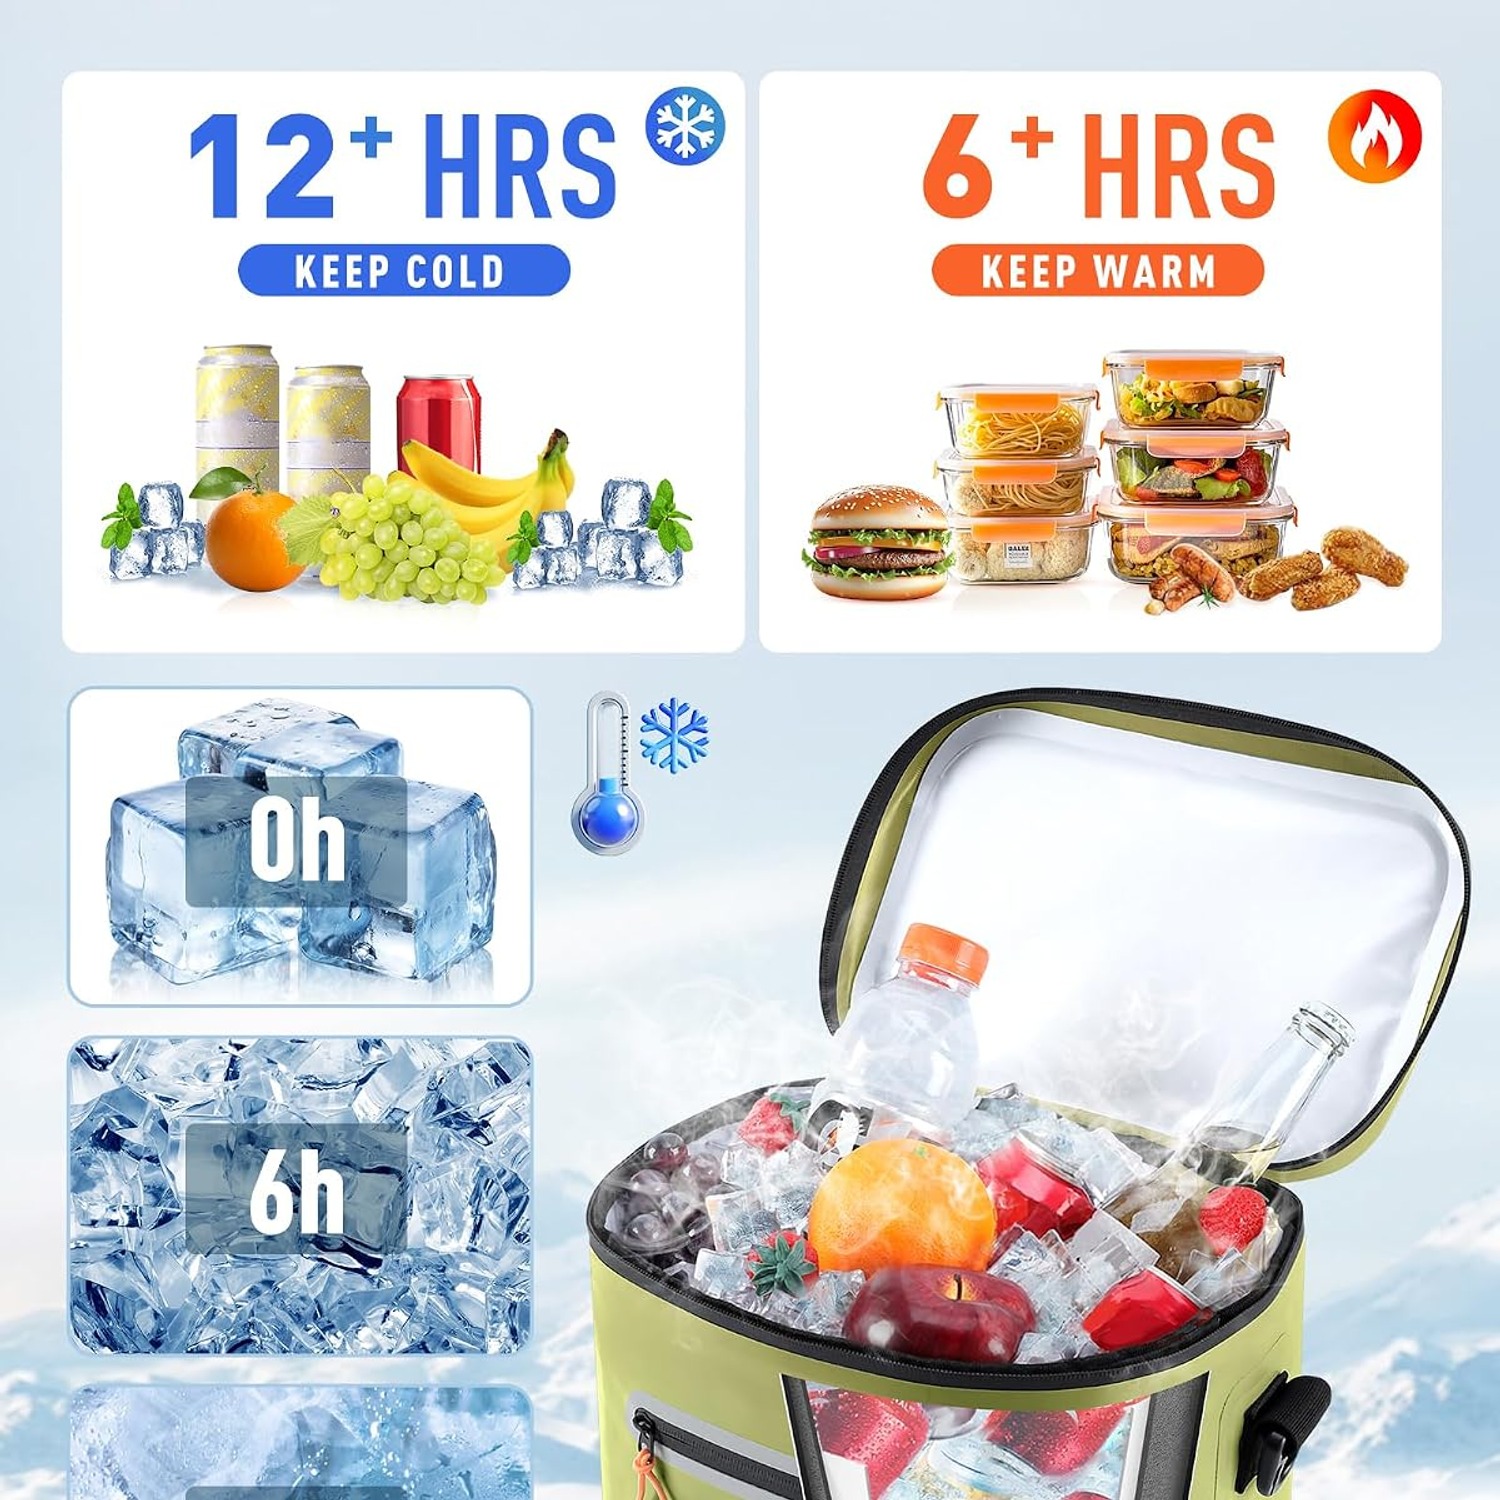
That means three things decide your result. How much ice you start with, how warm the contents were when you packed them, and how often you open the zip. Sydioor quotes more than 20 hours of cold retention with ice cubes, and they are upfront that the real number shifts with the outside temperature and the amount of ice. That is an honest way to state it. A bag sitting in shade at 22 degrees with a solid ice load behaves very differently from the same bag sitting on hot sand at midday with four cubes rattling around.
The practical takeaway is that air is the enemy. Empty space inside the bag warms quickly and then pulls heat from everything around it. A full bag beats a half-full bag every single time. If you only have a few items, fill the gaps with extra ice packs, a rolled towel, or even crumpled newspaper.
Soft versus hard coolers
Hard coolers hold cold longer. There is no arguing with thick rigid walls. But they are heavy before you put anything in them, they do not fold away, and they take up a fixed block of space in the car whether they are full or empty.
A soft bag trades some of that cold-holding for convenience. You can carry it one-handed, sling it over a shoulder, squash it into a gap behind the seat, and fold it flat in a cupboard when the season ends. For day trips, lunch runs, a few hours fishing or a picnic in the park, that trade makes sense. For a four-day camping trip with no shops nearby, a hard cooler is the right tool.
Most people end up owning both and reaching for the soft one far more often. The best soft cool bag is the one you will actually bother to bring.
Why the shell material matters
Plenty of soft coolers use woven Oxford fabric. It is cheap and reasonably tough, but it is a fabric, so it absorbs water. Rain soaks in. Spilled juice soaks in. Sand works into the weave and stays there. And once a fabric bag is wet, it needs hours to dry properly.
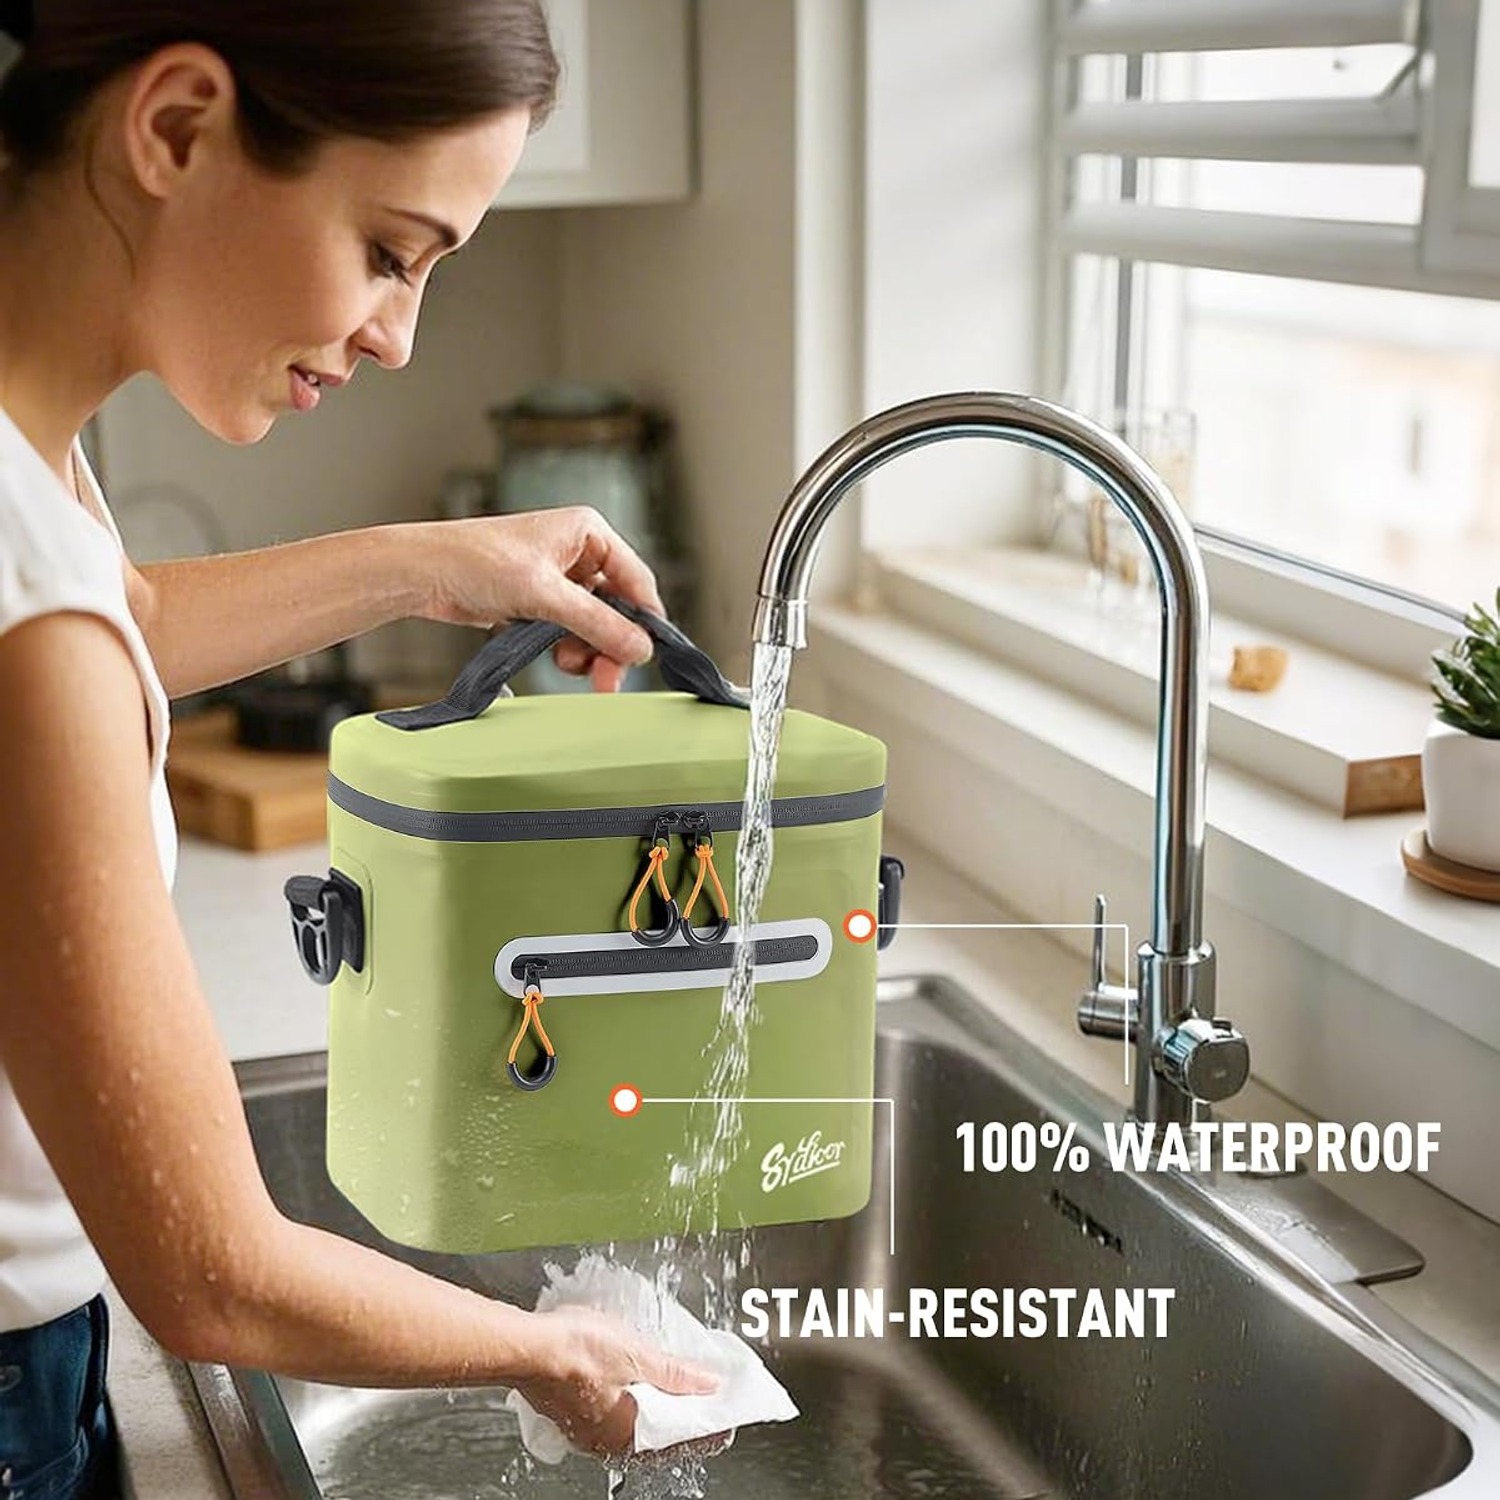
This bag uses TPU on the outside instead. TPU is a flexible waterproof material with a smooth surface. Rain beads off it. Sunscreen, sauce and fish slime come away with a damp cloth. Sand brushes off instead of embedding. That is a genuinely different experience when you are packing the car at the end of a long day and want to be finished in five minutes.
The smooth surface also makes the bag easier to keep hygienic. There is nowhere for crumbs or juices to hide, so a wipe-out really does clean it.
Picking the right capacity
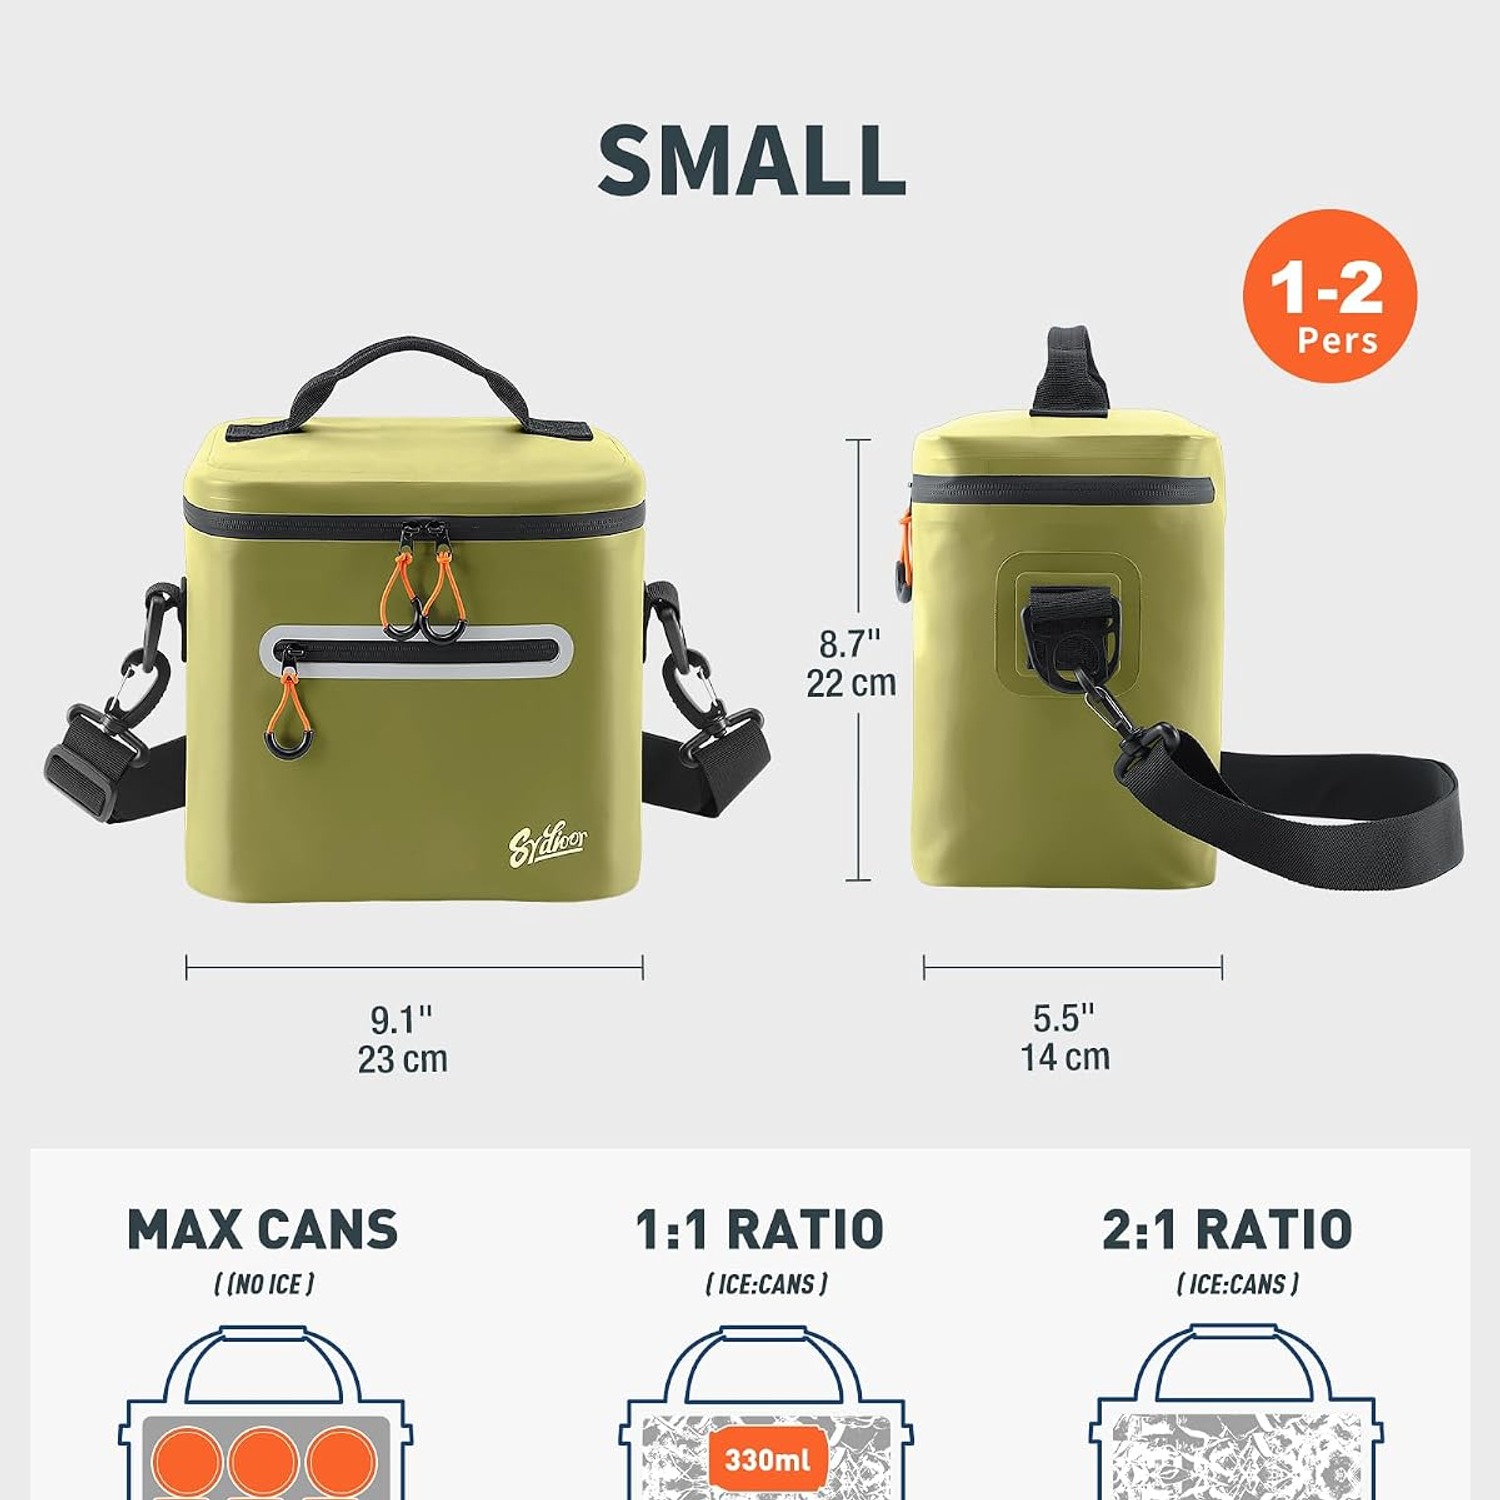
This version holds 14 litres, rated at 16 cans, and measures 19 cm deep by 30 cm wide by 25 cm high. The same range comes in 7 can and 30 can versions.
A rough guide. The 7 can suits a solo lunch plus a drink, or a short walk with a couple of bottles. The 16 can, this one, covers a day out for one or two people, a decent picnic, a week of meal prep, or a few hours fishing. The 30 can is for family outings and bigger shops.
Remember that the can rating assumes no ice. Once you load ice, usable space drops by around a third. If you want the full 16 cans in the bag, use two flat gel packs rather than loose cubes. If you want the longest cold possible and do not mind carrying less, go loose ice and plan for around 10 to 12 cans.
Packing it properly
Start with cold contents. Drinks straight from the fridge, food already chilled. Putting room-temperature cans in a cooler means your ice spends the first hour just bringing them down, and that ice is gone for good.
Build in layers. Ice on the bottom, heavy items like cans next, delicate things like sandwiches and fruit on top where they will not get crushed. Then a final scatter of ice or a flat pack across the top, since cold sinks.
Fill the gaps. Any air pocket is wasted cooling. Finally, be disciplined about the zip. Every opening dumps the cold air and draws warm air in. Decide what you want before you open it, grab it, close it.
Keep the bag out of direct sun. Shade under a chair, a towel over the top, or the shaded side of the car all buy you real extra hours.
Carrying and storage
The detachable shoulder strap is more useful than it sounds. A loaded 14 litre bag with ice is not light, and carrying it by hand while also holding chairs, towels and a kid's hand gets old fast. Clip the strap on for the walk, take it off for the car.
The front zip pocket handles the small things that always go missing in a cooler. Keys, phone, wallet, bottle opener, wet wipes. It is not insulated, so use it for dry items only.
When you are finished for the season, dry the bag completely and store it loosely folded rather than crushed under heavy gear. Compressed insulation does not spring back as well as you would hope.
Cleaning and keeping it fresh
Clean the bag the same day you use it. This is the single habit that decides whether a cooler lasts years or develops a permanent smell.
Pour out the melted water, remove any food, then wipe the inside and outside with a damp cloth and mild soapy water. Wipe again with clean water. Then leave the bag open somewhere airy until the inside is dry to the touch. Do not zip it shut while damp.
Skip the washing machine and the dishwasher. Both can damage the insulation layers and the sealed liner. If a mild smell does develop, a wipe with water and a splash of white vinegar, followed by a thorough dry, usually clears it.
Who this suits
It fits the person who is out for a day rather than a week. Beach trips, barbecues, park picnics, a morning on the water, a commute with lunch and drinks, a drive where you would rather not buy roadside food. Sydioor lists fishing, boating, camping, picnics and hiking as the intended uses, and those are all reasonable for this size and build.
It is less suited to long unsupported trips in high heat where you cannot restock ice. That is hard cooler territory, and no soft bag will beat a thick-walled box over three days in the sun.
The short version
Fourteen litres, roughly 16 cans, in a one-piece body with five layers of insulation and no pockets eating into the cold. A sealed food-grade PEVA liner keeps melted ice in the bag. A waterproof TPU shell shrugs off rain and wipes clean. A detachable strap and a front zip pocket make it easy to carry and keep small items where you can find them.
Pack it cold, pack it full, keep it shaded, and clean it the day you use it. Do those four things and it will do its job for a long time.